Applying LumaSoothe 2 Treatments
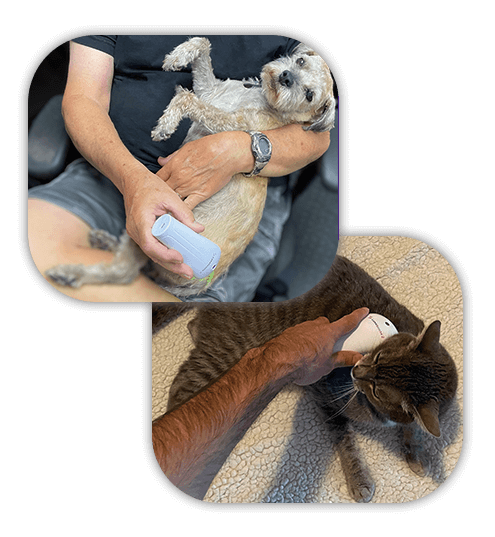
Giving LumaSoothe 2 Light Therapy Treatments couldn’t be any easier, follow the instructions below to see how easy it is!
Video Guide:
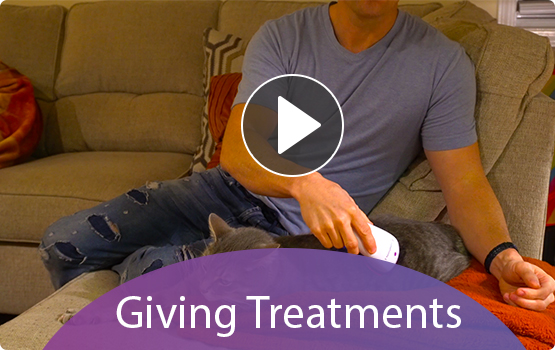
Watch our video guide and see how easy it is to give your pets light therapy with LumaSoothe 2 at home or on the go!
Step 1.
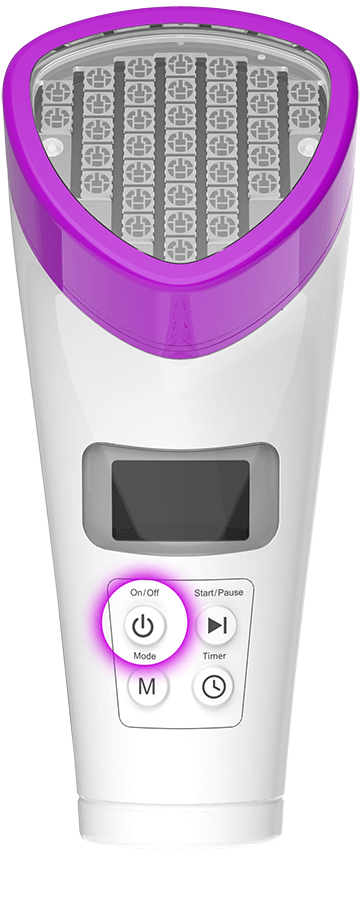
Power On
Step 2.
Select Mode
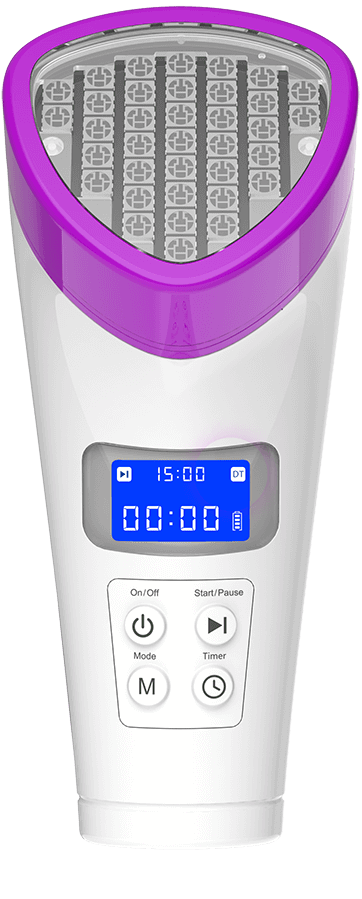
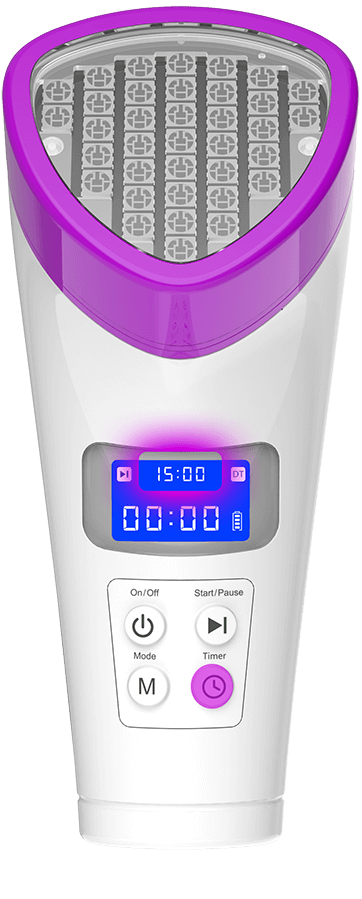
Depending on your pets condition, you may need to switch from the default [DT] mode, to the [ST] mode.
[DT] mode is for conditions deep in the joint, muscle areas such as Arthritis, Hip Dysplasia, Back Pain, IVDD and more.
[ST] mode is designed to be used for surface conditions such as hair loss, cuts, wounds, itchy skin etc.
To change modes, press the [Mode] button. Once pressed, the mode indicator on the [LCD Screen] will show the appropriate mode information.
Step 3.
Select Timer
By default, LumaSoothe 2 will use the recommended 15 minute treatment time. However if you would like to give your pets shorter “quick” treatments, you may change the timer by pressing the [Timer] button.
With each press of the Timer button, the timer will change between 15 minutes, 10 minutes or 5 minutes.
Step 4.
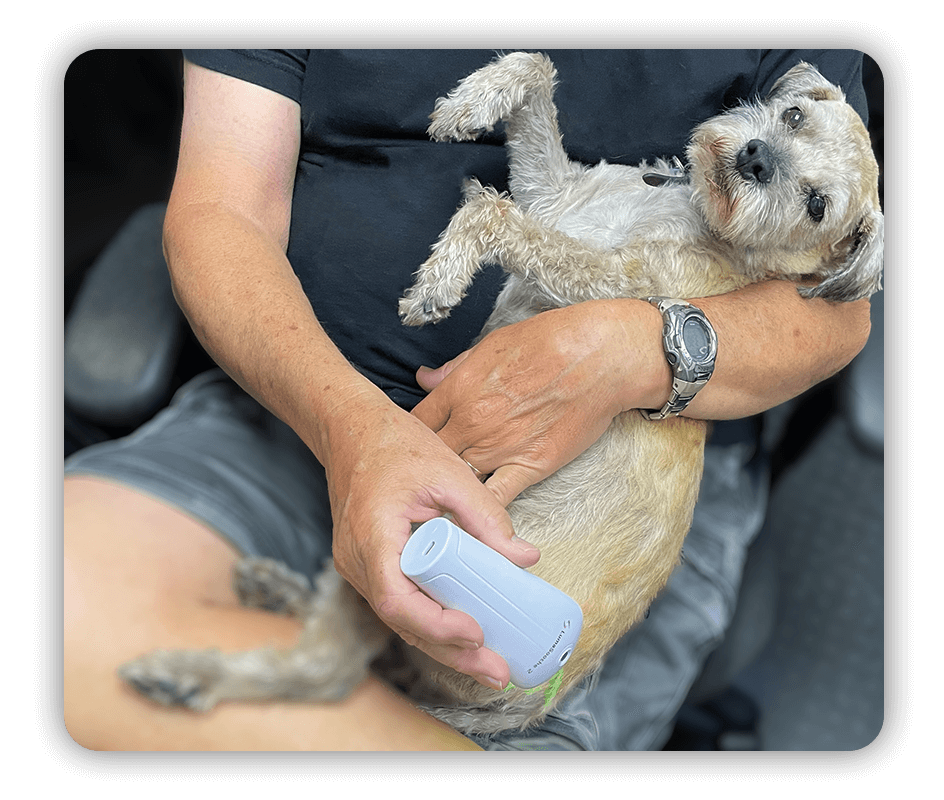
Start Treatment
Additional Treatment Tips
- We recommend for the first 3-5 Initial treatments, to start with shorter treatment times per treatment around 5-10 minutes and then increase to full 15 minutes.
- Shorter initial treatments certainly will allow your pet to acclimate to light therapy.
- Standard Treatment time per treatment area is 15 minutes.
- LumaSoothe lights are programmed to automatically turn off after timer has ran out.
- If your pets condition consist of several separate spots, in this situation please make sure each spot is treated separately with it’s own 15 minute treatment cycle.
- If treating any open wound or cut etc. please avoid making direct skin contact. Instead, hold the device just above the area during the treatment cycle.
- If you have any questions, please don’t hesitate to reach out to us.
Happy to help.
If you have any questions, comments please contact us!


